Blog
How to Fix a Flat Tire

It can happen to even the most careful of drivers. You’re cruising down the road when all of a sudden you hit a pothole, your low tire pressure light kicks on, and you feel a rumble at the wheel. You pull over safely, get out of the car, and see you have a flat tire.
Hopefully, you can change out the tire for a spare and get back on the road. If you can’t, make sure you have a car insurance policy that offers towing so you can get home.
But what do you do with your punctured tire? Depending on the source of the leak, you may be able to repair it yourself. Doing so can save you from having to buy a new tire. Use the below guide to fix a flat tire on your own.
Tools You’ll Need
You’ll need a few things before you get started with repairing your tire. To make things easy, so you don’t have to hunt down a ton of accessories, we recommend a quality tire repair kit. It will come with all the little things you require during the process, including rope plugs, lubricant, and more.
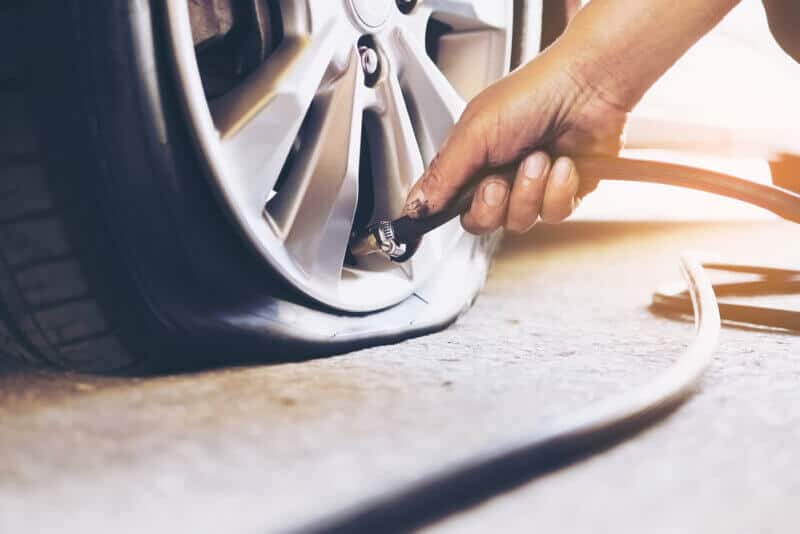
It’s also a good idea to have an air compressor. That way, you won’t have to drive the tire to a gas station to reinflate it. You can also carry a portable one if you want to patch up your tire on the go. If the compressor doesn’t come with a pressure gauge, make sure you have a separate one you can use to access the tire’s pounds per square inch (PSI).
If you plan on fixing your tire quickly so you can put it back on your car and get where you need to be, you’ll also want a can of Fix-a-Flat. While it’s not as durable as a regular patch, it can give you an on-the-go repair so you can make it home after getting a flat tire on the road.
You should already have a jack and lug wrench in your car, but just in case you don’t, keep in mind these are essential supplies for this task.
1. Find the Hole
First, you’ll need to see what has punctured your tire. Look for any nails or sticks. If you see an object like this embedded in your tread, you’re in luck, as you can use the Fix-a-Flat to make a quick repair and get back on the road.
Leave the object in place, connect the can to your tire’s pressure valve, and empty the contents. The tire should reinflate and hold air again. You can test it by putting it back on the car (see step 7) and driving a few miles. If the tire is holding air, you should be good to get to your destination.
If the puncture is a hole or you can’t see the problem, you’ll need to remove the tire from your car.
2. Take Off the Tire
Loosen the lug nuts on the tire, and then take your car’s jack to lift the vehicle. You can throw your spare tire under your car as protection in case your car falls off the jack. Once the wheel is hovering, loosen the lug nuts all the way and pull the wheel off.
3. Clean the Hole
With the tire free, you’ll need to clean the hole so it is ready to be repaired. If there is any debris stuck in the hole, remove it first. Then, use the rasp tool included in your kit to clean out the hole and widen it. It might be hard to get the tool in, so try screwing it in while pressing down, then pull it out. Repeat several times until the tool moves freely in and out of the hole.
4. Prepare the Plug
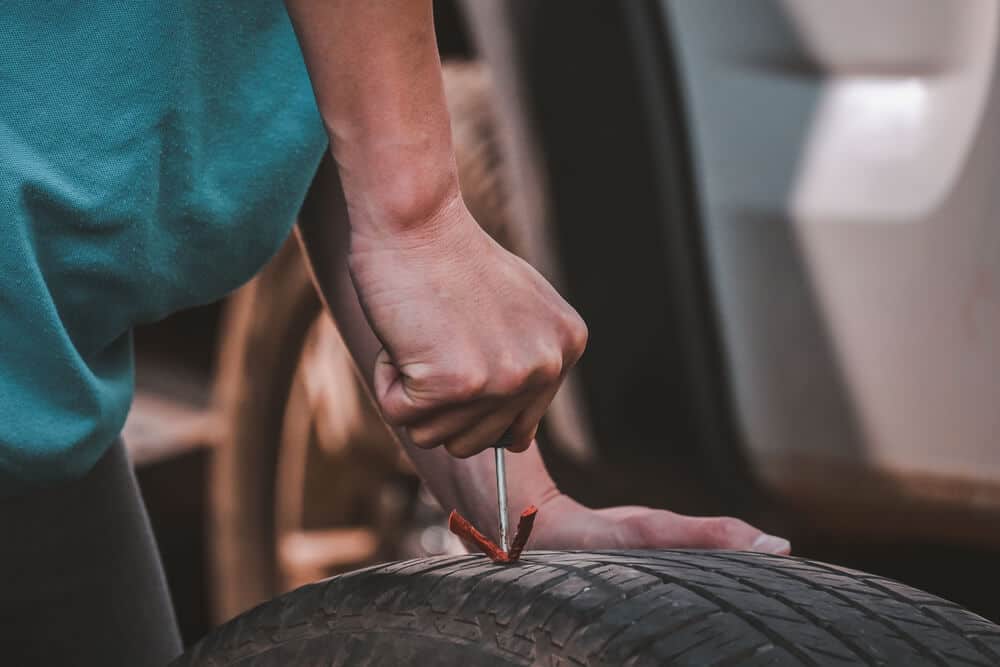
Your kit will come with a rope plug that you will need to insert into the insertion tool. You can do this by using needle-nose pliers to flatten one end and push it through the eyelet opening.
Once you have the plug properly positioned, lubricate it with the lube included with the kit. You can also use rubber cement or glue if you have it.
5. Plug up the Tire

Now comes the important part — actually plugging up the tire. Take the insertion tool with the plug and force it down through the hole with both hands. You want the depth guide flush with the tread. Once it’s there, quickly pull the tool straight up. When the tool comes out, the plug should separate and stay secured inside the tire.
6. Fill the Tire
Now’s your chance to see if it worked. Inflate the tire to the manufacturer’s recommended PSI. The tire should fill up quickly and not leak if you made the repair right.
7. Put the Tire Back on the Car
You’ll want to put the repaired tire back on your car so you can see if it holds air under pressure. Repeat step two but in reverse. Place the tire onto the hub and reattach the lug nuts. Once it’s secure, jack down the car and give the lug nuts one final tighten.
That’s it — your flat tire should be fixed!
Keep Your Tires From Needing Repairs
Knowing how to fix a flat tire is great, but there are some things you can do to lower your chances of getting a flat in the first place. Always make sure you inflate your tires to the correct PSI. You’ll also want to check the tread every few weeks to see if there’s any abnormal wear and tear. Finally, make sure to rotate your tires regularly to help them last longer.
There were 738 deaths in tire-related crashes in 2017, so do your part to keep the roads safer.
Choose Car Insurance That Will Stand by You
For greater peace of mind on the road, choose Vern Fonk car insurance. Our affordable coverage can save you big — get your free quote today!


